
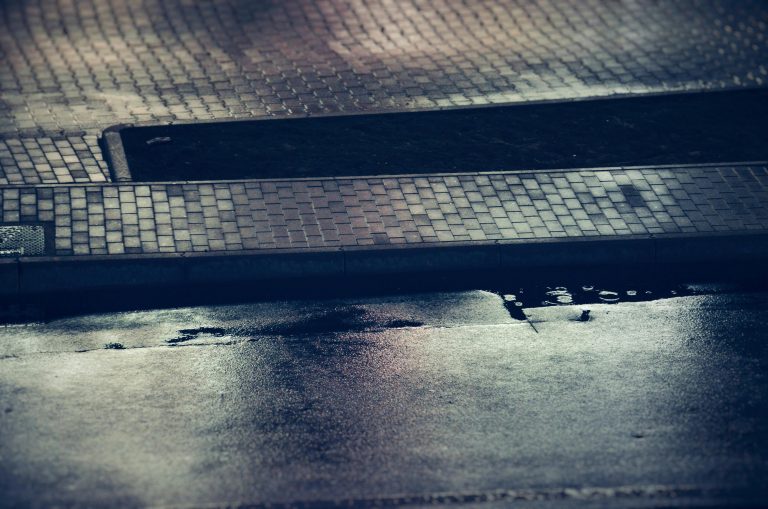
If you want to keep your pavers from shifting, stop weeds from growing between them, and make your patio or walkway look clean and polished, polymeric sand is your best friend.
But knowing how to re-sand your pavers the right way in Southeastern, PA can make the difference between a job that lasts for years and one that falls apart after a season.
At Clean My Pavers, we’ve helped homeowners and property managers bring old paver surfaces back to life—and applying polymeric sand correctly is one of the most important steps in that process.
This guide will walk you through what polymeric sand does, how to use it, and what to avoid so your project goes smoothly.
What Is Polymeric Sand and Why Use It?
Polymeric sand is a fine sand mixed with bonding agents that harden when wet.
Once it’s swept into the joints between pavers and misted with water, it locks the pavers in place.
It also keeps out weeds, bugs, and water that could wash away your base over time.
If you’ve heard of paver joint sand, this is the next level up.
Polymeric sand doesn’t just fill the cracks—it strengthens the entire surface and helps your hardscape hold up against weather, traffic, and time.
What You’ll Need Before You Start
Before you get going, make sure you have everything ready:
- Polymeric sand (make sure it matches your paver style and joint width)
- A soft-bristle push broom
- A plate compactor or hand tamper
- A leaf blower
- A garden hose with a mist setting
- Optional: a sealant if you want to finish with extra protection
How to Apply Polymeric Sand for Pavers
Let’s look at the steps involved with applying polymeric sand for your pavers:
Clean the Surface
Cleaning the pavers can be an easy step to overlook but super important.
Your pavers need to be completely dry and free of dirt, debris, or old joint sand.
If you plan to power wash, do it at least 24 to 48 hours ahead of time so the surface has time to dry.
Moisture will ruin the bond before it even starts.
Check the Weather
Polymeric sand needs dry conditions to set properly.
Check that there’s no rain in the forecast for at least 24 hours after application.
You’ll also want the temperature to be above 50°F during and after the process.
Cold or wet weather can prevent the sand from setting correctly.
Spread the Sand
Pour the sand directly onto the dry surface and sweep it into the joints using your broom.
Move the broom diagonally across the pavers to help the sand settle evenly.
Work in small sections so you have more control.
Compact the Surface
Once the joints are mostly full, run a plate compactor across the area.
This helps the sand pack tightly into every gap.
If you’re working on a smaller area, a hand tamper will do the trick—it just takes a little more effort.
After compacting, sweep more sand into the joints if they aren’t fully filled.
Blow Off the Excess
Before you add water, use a leaf blower on low to remove any leftover sand from the surface.
Hold it at an angle and move gently to avoid blowing sand out of the joints.
Skipping this step can lead to a white haze on the pavers once the sand hardens.
Activate the Sand
Now you’re ready to lock it all in.
Lightly mist the entire surface with water.
Don’t drench it.
Aim for a few light passes a few minutes apart to let the water soak in gradually.
This helps the polymers activate without washing the sand out of the joints.
Avoid walking or driving on the pavers for at least 24 to 48 hours after this step.
Mistakes to Avoid
We’ve seen plenty of DIY projects where a few simple missteps caused big problems later.
Here’s what to watch out for:
- Applying sand when the pavers are damp or rain is expected
- Forgetting to blow off the extra sand
- Using too much or too little water
- Not compacting before activating
- Choosing the wrong type of sand for your pavers
Fixing these mistakes can be costly and time-consuming, so take the extra time to do it right the first time.
Keeping Your Pavers Looking Great
Once your polymeric sand is in place, a little paver maintenance goes a long way.
Sweep your pavers regularly, rinse off dirt when needed, and check your joints once or twice a year.
If you notice gaps or weed growth, it might be time to top off with more sand or consider sealing your pavers surface.
Adding a paver sealer can give you an extra layer of protection and help the color of your pavers pop.
Just make sure the surface is dry and clean before applying it.
Want It Done Right? Clean My Pavers Can Help
If you don’t want to deal with the hassle of applying polymeric sand yourself—or if your last attempt didn’t go as planned—we’ve got you covered.
At Clean My Pavers, we specialize in professional paver joint resanding.
Our team uses top-quality polymeric sand and commercial-grade tools to restore your paver joints, prevent weed growth, and make your patio, walkway, or driveway look brand new again.
Whether you’re dealing with sand loss, uneven pavers, or just want a clean, polished look, we can help.
Contact us to learn more about our paver joint resanding service in Southeastern, PA, or reach out to get a free quote.
Conclusion: How to Apply Polymeric Sand for Pavers
Knowing how to apply polymeric sand for pavers in Southeastern, PA can save you time, money, and future headaches—if you do it right.
With the right prep, the right materials, and a little patience, your pavers will stay put and look great for years to come.
And if you’d rather let someone else handle it, we’re here to help.
Clean My Pavers makes it easy to refresh your paver surfaces without the guesswork.
FAQs: How to Apply Polymeric Sand for Pavers
Can I pressure wash polymeric sand?
Yes, but only if the sand has already hardened and cured properly. If you pressure wash too soon after installation, you can wash out the joints. Always use a low-pressure setting and avoid aiming directly at the joints to maintain their integrity.
What is the best way to apply polymeric sand to pavers?
The best way to apply polymeric sand is to start with a clean, dry surface, sweep the sand into the joints, compact the area, blow off any excess, and then mist the surface lightly with water. Avoid rushing the process, and work in small sections for better control.
How long do you let polymeric sand sit?
After applying and activating the sand with water, let it sit undisturbed for at least 24 to 48 hours. This allows it to fully harden and bond. Walking or driving on it too soon can cause the sand to shift or wash out.
How do you seal pavers?
To seal pavers, first make sure the surface is clean and completely dry. Apply a paver sealer using a roller or sprayer in even coats, then allow it to cure for at least 24 hours before using the area. Sealing helps protect the surface from stains, fading, and water damage.
How do you restore old pavers?
Restoring old pavers typically involves cleaning the surface, reapplying joint sand (such as polymeric sand), and sealing the area. At Clean My Pavers, we often use commercial-grade cleaners and tools to remove dirt, algae, and stains before resanding the joints and finishing with a high-quality sealer.
What sort of maintenance do pavers need?
Pavers need regular sweeping, occasional rinsing, and periodic reapplication of joint sand or sealer. Keeping debris off the surface helps prevent staining and weed growth, while checking the joints each year ensures the pavers stay locked in place.
Can I put new polymeric sand over old polymeric sand?
It’s not recommended to apply new polymeric sand directly over old sand unless the old sand is completely cleaned out from the joints. Mixing old and new sand can lead to poor bonding and surface hazing. For best results, remove the old sand first.